Unlocking Nature: Your Guide to Setting Up and Using Trail Cameras Effectively
Imagine wandering through a sun-dappled forest, where the whispers of leaves dance gently in the breeze, and the rich tapestry of wildlife unfolds before your eyes. Now, what if you could capture those elusive moments without disturbing the peaceful rhythm of nature? Enter trail cameras: your secret window into the wild! Whether you’re a seasoned wildlife enthusiast or a curious beginner, setting up and using a trail camera can transform your outdoor adventures into a captivating storybook. In this article, we’ll guide you through the ins and outs of selecting the right camera, choosing perfect locations, and mastering the art of capturing breathtaking images of nature’s most fascinating creatures. So, grab your gear, and let’s embark on this exciting journey together—there’s a whole world waiting to be discovered!
Choosing the Right Trail Camera for Your Needs
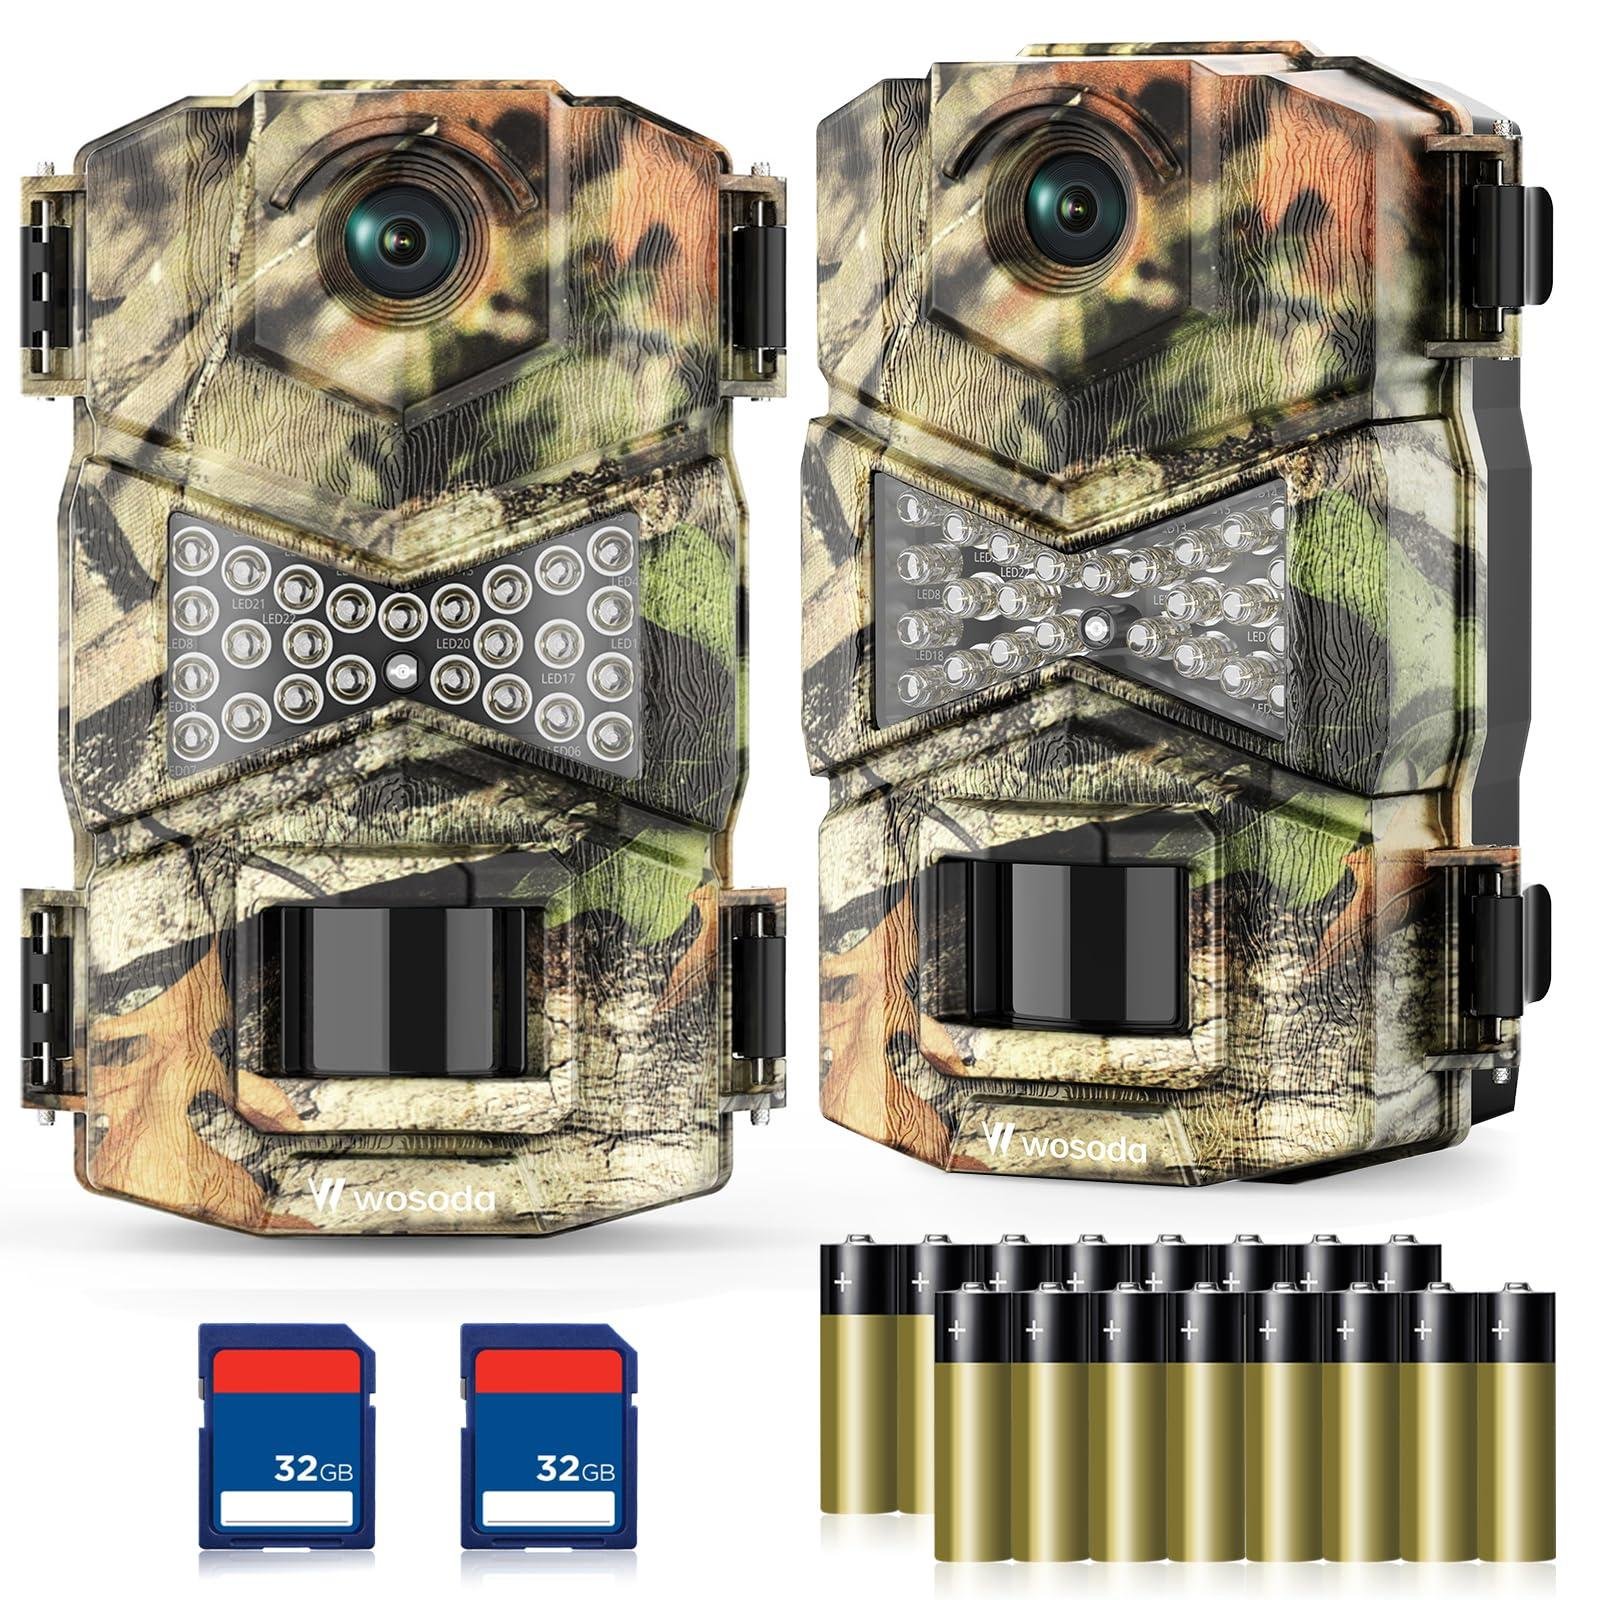
When selecting a trail camera, it’s essential to consider your specific needs and the environment in which you’ll be using it. Start by determining the primary purpose of the camera. Are you monitoring wildlife, surveying land, or enhancing security? Depending on your goals, you might prefer features such as high resolution for wildlife photography or night vision capabilities for security purposes. Pay attention to the camera’s trigger speed, which dictates how quickly it snaps a picture after movement is detected; faster responses will capture more fleeting moments.
Next, factor in the camera’s durability and battery life. If your camera will be placed in harsh weather conditions, opt for models that are weatherproof and rugged. Additionally, consider the storage capacity and options for remote access, as some cameras allow you to view images from your smartphone or computer. A variety of different models with unique specifications can appeal to diverse user needs, so when in doubt, consult customer reviews or product comparison tables for insights. Below is a quick comparison of common features:
| Feature | Basic Model | Advanced Model | Premium Model |
|---|---|---|---|
| Resolution | 5 MP | 12 MP | 20 MP |
| Night Vision | Infrared | Black & White | Full Color |
| Battery Life | 3 months | 6 months | 12 months |

Mastering Placement Techniques for Maximum Wildlife Capture
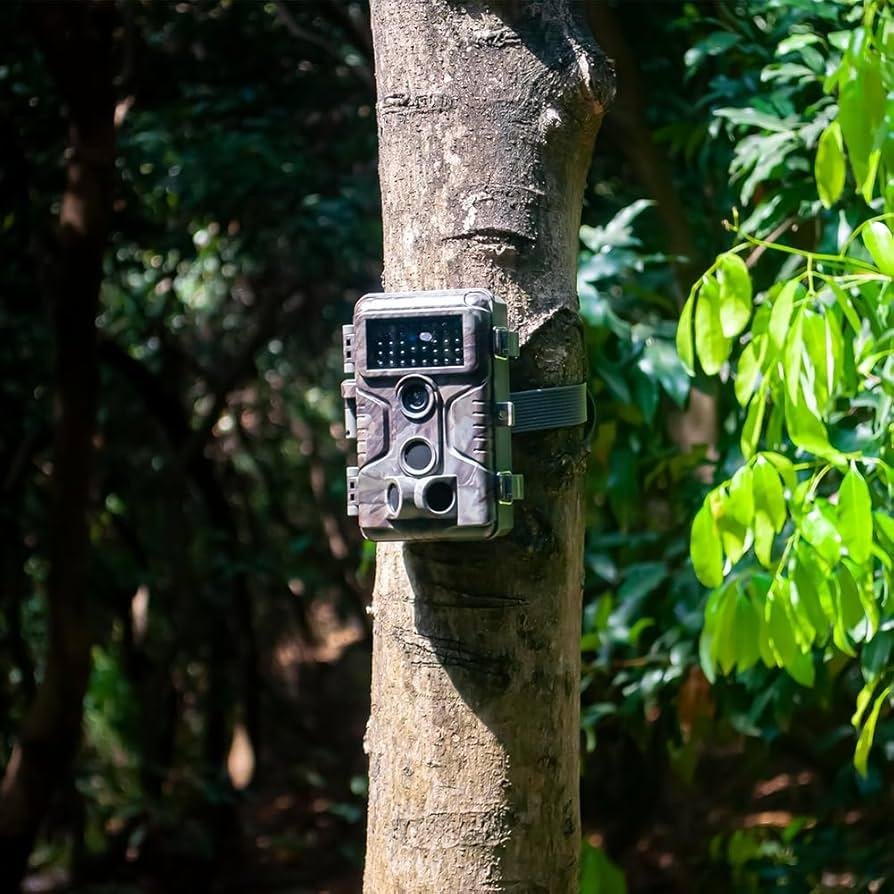
To ensure that your trail cameras yield the best results, consider the location and angle of the camera carefully. Positioning your camera near natural animal pathways, such as game trails, can increase the likelihood of capturing wildlife in action. Look for signs of animal movement, like tracks or droppings, and place your camera about 5-6 feet off the ground, angled slightly downwards. This height maximizes the chance of capturing not only large animals but also smaller creatures that may traverse the area. Remember to check for factors that could obstruct the camera’s field of view, which could inadvertently blur your valuable shots.
Another vital factor is the environment. Different wildlife species may respond differently to human presence and surroundings. Make sure the area around your camera is free of excessive disturbances like loud noises or strong odors. It’s beneficial to camo-wrap your camera to blend into the natural environment, minimizing human impact and encouraging wildlife to approach. Maintain a clean setup by securing feed or bait in a way that draws animals without disturbing their natural habits. Keeping a small diary to log your camera placements and the corresponding wildlife captured can also help refine your strategy over time.
Essential Settings to Optimize Your Trail Camera Experience
To truly enhance your trail camera experience, fine-tuning a few key settings can make a world of difference. Start by adjusting the resolution of your camera; higher resolutions provide clearer images, but can also fill your memory card more quickly. Consider using an optimal setting between 8 and 12 megapixels for a balance of image quality and storage efficiency. Additionally, modifying the trigger speed is crucial—aim for a speed of 0.5 seconds or less to capture fast-moving wildlife. You may also want to experiment with different field of views to determine the optimal coverage area for your specific location.
Another essential aspect is the time-lapse feature. Enabling this setting allows you to capture pictures at set intervals, perfect for monitoring vegetation changes or frequent animal visits, while the video mode can provide an engaging glimpse into wildlife behavior. It’s also helpful to set a motion detection sensitivity level that suits your environment; start with a medium setting and adjust based on the amount of triggering caused by wind and foliage. Moreover, keep an eye on your camera’s battery life and storage capacity; using lithium batteries typically extends operational time while regularly checking your memory card prevents unexpected storage issues.

Tips for Maintaining and Protecting Your Trail Cameras
To ensure your trail cameras function optimally and capture the stunning moments in nature, regular maintenance is key. Start by cleansing the lenses and ensuring no debris obscures the view; a simple microfiber cloth can work wonders. It’s also wise to check batteries frequently, especially during extreme weather conditions, as cold or heat can dramatically affect performance. Consider investing in rechargeable batteries—environmentally friendly and cost-effective in the long run. Additionally, keep an eye on the memory cards to ensure they have sufficient capacity, and format them regularly for top performance.
Protecting your trail cameras from wildlife and the elements is essential for their longevity. Here are a few wise practices:
- Choose the right location: Position cameras high to avoid damage from curious animals.
- Use protective housing: Specialized cases can shield your equipment from rain, snow, and prying paws.
- Avoid overexposure: If possible, keep cameras out of direct sunlight to prevent overheating.
Moreover, consider using security features like lockable straps or locks, especially in areas with high human traffic. Always be mindful of local laws regarding camera placement to keep your outdoor experience enjoyable and within legal boundaries.
In Conclusion
As you venture into the exciting world of trail cameras, remember that each snap is a window into the hidden lives of the wilderness around you. Whether you’re tracking wildlife, monitoring your property, or simply enjoying nature’s intricate tapestry, these devices open up a treasure trove of moments waiting to be captured. With the tips and techniques we’ve explored, you’re now equipped to set up and use your trail cameras like a pro.
So, grab that camera, find your perfect spot, and let patience lead the way. Here’s to countless adventures and unforgettable encounters, all framed through the lens of your trail camera. Happy snapping! 🌲📸

